 If you don't have the necessary JDK on your computer, select Download JDK . In the next dialog, specify the JDK vendor (for example, OpenJDK), version, change the installation path if required, and click Download .
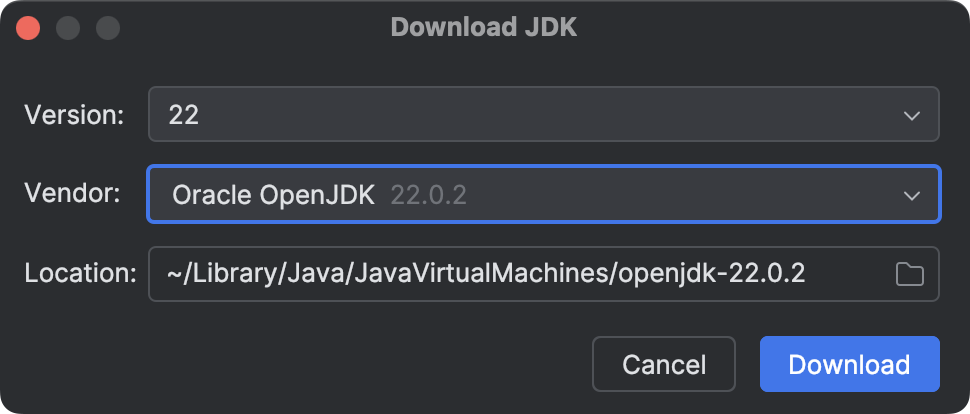
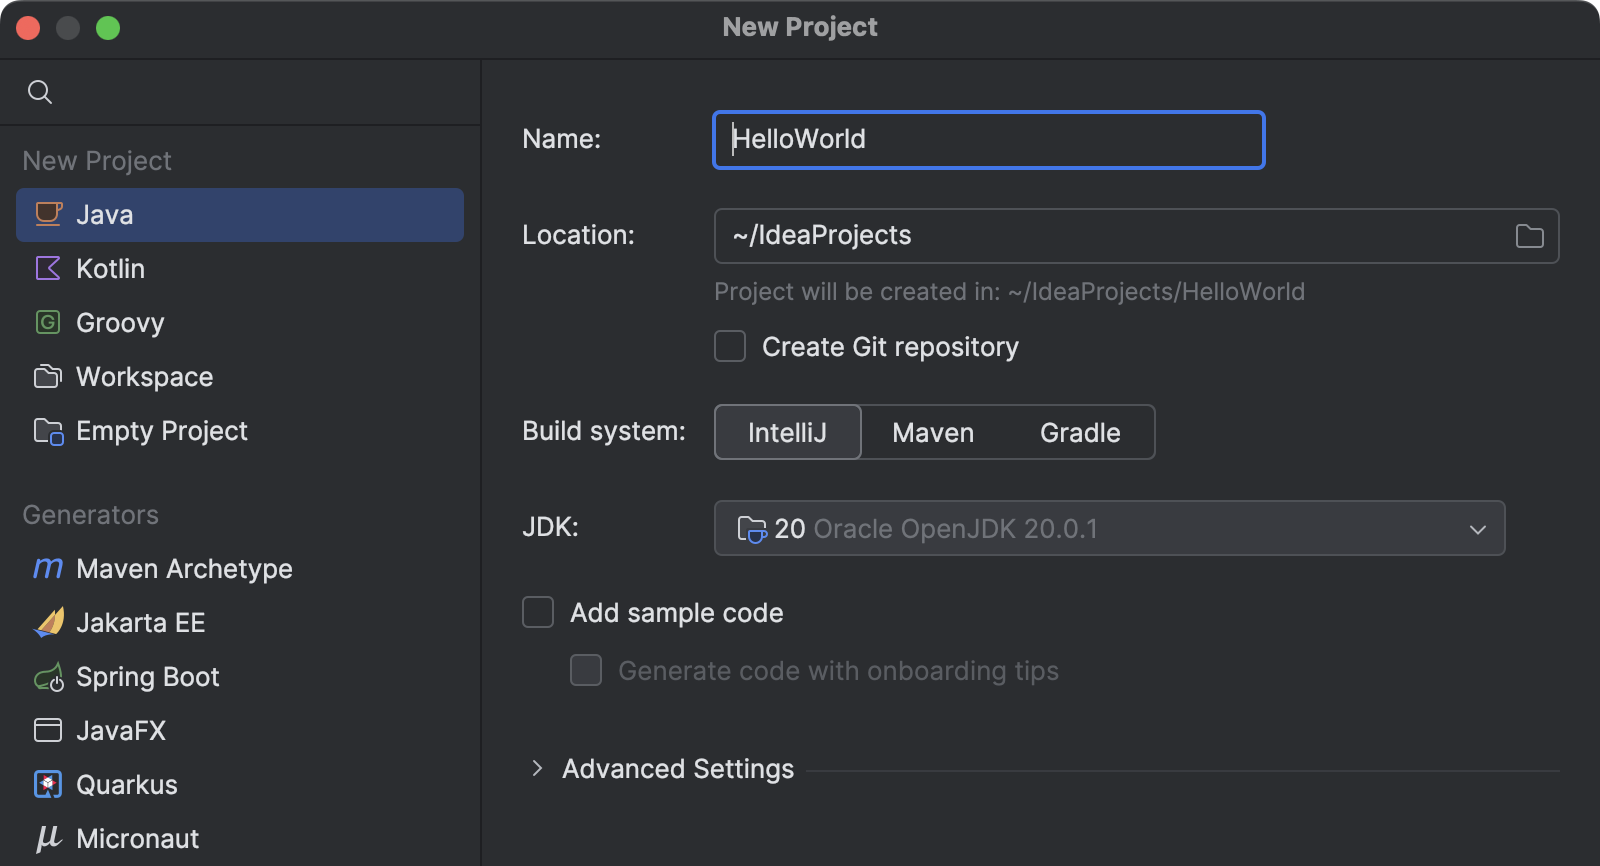
In this tutorial, you will learn how to create, run, and package a simple Java application that prints Hello World! to the system output. Along the way, you will get familiar with IntelliJ IDEA features for boosting your productivity as a developer: coding assistance and supplementary tools.
In IntelliJ IDEA, a project helps you organize your source code, tests, libraries that you use, build instructions, and your personal settings in a single unit.
If you don't have the necessary JDK on your computer, select Download JDK . In the next dialog, specify the JDK vendor (for example, OpenJDK), version, change the installation path if required, and click Download . After that, the IDE will create and load the new project for you.
Packages are used for grouping together classes that belong to the same category or provide similar functionality as well as for structuring and organizing large applications with hundreds of classes.
Together with the file, IntelliJ IDEA has automatically generated some contents for your class. In this case, the IDE has inserted the package statement and the class declaration.
This is done by means of file templates. Depending on the type of the file that you create, the IDE inserts initial code and formatting that is expected to be in all files of that type. For more information about how to use and configure templates, refer to File templates.
The Project tool window Alt+1 displays the structure of your application and helps you browse the project.
In Java, there's a naming convention that you should follow when you name packages and classes.
Live templates are code snippets that you can insert into your code. main is one of such snippets. Usually, live templates contain blocks of code that you use most often. Using them can save you some time as you don't have to type the same code over and over again.
For more information about where to find predefined live templates and how to create your own, refer to Live templates.
After the main() method declaration, IntelliJ IDEA automatically places the caret at the next line. Let's call a method that prints some text to the standard system output.
Basic code completion analyzes the context around the current caret position and provides suggestions as you type. You can open the completion list manually by pressing Ctrl+Space .
For more information about different completion modes, refer to Code completion.
You can call the println() method much quicker using the sout live template.
After the main() method declaration, IntelliJ IDEA automatically places the caret at the next line. Let's call a method that prints some text to the standard system output.
Valid Java classes can be compiled into bytecode. You can compile and run classes with the main() method right from the editor using the green arrow icon in the gutter.
When you click Run , IntelliJ IDEA creates a special run configuration that performs a series of actions. First, it builds your application. On this stage, javac compiles your source code into JVM bytecode.
Once javac finishes compilation, it places the compiled bytecode to the out directory, which is highlighted with yellow in the Project tool window.
After that, the JVM runs the bytecode.
Automatically created run configurations are temporary, but you can modify and save them.
If you want to reopen the Run tool window, press Alt+4 .
IntelliJ IDEA automatically analyzes the file that is currently opened in the editor and searches for different types of problems: from syntax errors to typos. The Inspections widget in the top-right corner of the editor allows you to quickly see all the detected problems and look at each problem in detail. For more information, refer to Current file.
When the code is ready, you can package your application in a Java archive (JAR) so that you can share it with other developers. A built Java archive is called an artifact .
 If you now look at the out/artifacts folder, you'll find your JAR there.
To make sure that the JAR artifact is created correctly, you can run it.
Use Find Action Ctrl+Shift+A to search for actions and settings across the entire IDE.
To run a Java application packaged in a JAR, IntelliJ IDEA allows you to create a dedicated run configuration.
Run configurations allow you to define how you want to run your application, with which arguments and options. You can have multiple run configurations for the same application, each with its own settings.
The process has exited successfully, which means that the application is packaged correctly.